stuga
Settling In

Posts: 115
|
Post by stuga on Mar 9, 2008 9:49:06 GMT -5
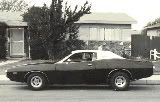
I must say(type) with out a doubt that refinishing the trim work for a 73 SE is the most boring and time consuming job there is so far. It does come out nice and looks great when done, but boy is my arms and shoulders tired of it  . I have heard of removing the anodizing with easy-off oven cleaner but have not tried it yet. So I'm finishing the pieces that I started so-far, which are the rear front hood molding trim near the windshield. The two fender eyebrows came out great and the hood piece is almost done. well half way done. I started with 180grit then 220, then 400,600,800 wet sand and finish on two buffing wheels with polishing compound from eastwood  |
|
brock
Major Website Supporter
MEGA KILOVOLT-MASTER
Posts: 3,459
|
Post by brock on Mar 9, 2008 12:31:04 GMT -5
Lookin good Stuga  |
|
|
|
Post by Nacho-RT74 on Mar 9, 2008 13:24:19 GMT -5
was that bad to start with 180 ?  |
|
stuga
Settling In
Posts: 115
|
Post by stuga on Mar 9, 2008 15:13:25 GMT -5
I started with the 180 on a orbiter sander to remove the anodizing and the deep scratches on the eyebrow trim. The front hood nose trim and the rear truck lid trim on my 73 SE is stainless. The trim around the windows front and rear I believe also have a anodizing coating on them, or some kind of coating because I ended up buffing right through it by accident  |
|
|
|
Post by Jer on Mar 10, 2008 1:44:08 GMT -5
Those look GREAT!!
What's the secret to getting them off of the clips (or maybe I should
say off of the car), Stuga?
Almost all of them were "pre-removed" when I got the 440 car, but I need to pull the door top moldings (top edge of the door, bottom of the glass) and the rear quarter window edge molding...bottoms and back curves.
I know I didn't name those things right, but I hope you get the idea of what I am talking about.
I can't even tell if I'm supposed to be trying to "pop" the inside edge or the outside edge!!
Thanks for any help,
Jer.
|
|
Deleted
Deleted Member
Posts: 0
|
Post by Deleted on Mar 10, 2008 6:22:13 GMT -5
They look awesome. I'm skittish about taking mine back off and doing the same thing. It was hard enough taking them off and putting them back on after the paint job.
|
|
stuga
Settling In
Posts: 115
|
Post by stuga on Mar 10, 2008 12:14:36 GMT -5
Well Jer if your talking about the top of the door moldings then yes you have to remove your upper inside door panels first. Then you should see the screws that hold on the outer window seal, You should be able to remove these pieces without removing the window. Once you have the window seal off you then should see the screws that hold the door trin on. First remove the rear acorn nut and then the front screw in the photo's. After those are out then remove the screws in the middle     |
|
brock
Major Website Supporter
MEGA KILOVOLT-MASTER
Posts: 3,459
|
Post by brock on Mar 10, 2008 23:54:20 GMT -5
Once again: Nice pics Stuga My door glass was out when removing these parts on my drivers side. I looked into seeing if the right door glass would roll down enough to clear the middle 2 screws that attach the outter window seal & it didn't I hope mine is just out of adjustment. Dunno; door shuts good with glass all the way up. I'll check again tomorrow. Maybe the trick is to back off the lower glass stops to get it to do down that low?! Stuga knows right!!! |
|
|
|
Post by red72chrgr on Mar 11, 2008 20:36:29 GMT -5
Brock, when I removed my trim from the doors, I took out the rubber stop at the bottom of the door and lowered the glass enough to get those 2 screws out.
|
|
brock
Major Website Supporter
MEGA KILOVOLT-MASTER
Posts: 3,459
|
Post by brock on Mar 11, 2008 21:57:03 GMT -5
Brock, when I removed my trim from the doors, I took out the rubber stop at the bottom of the door and lowered the glass enough to get those 2 screws out. red72 solved the problem: Just carefully remove the bottom stop. Image of glass rolled down normally. It's in the way of 2 outer seal screws 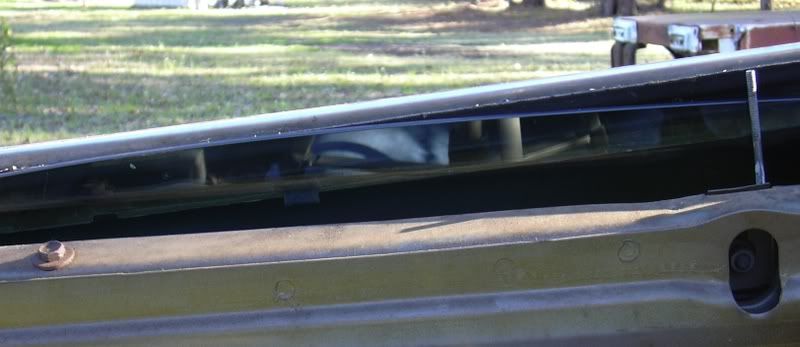 By carefully removing the bottom glass stop 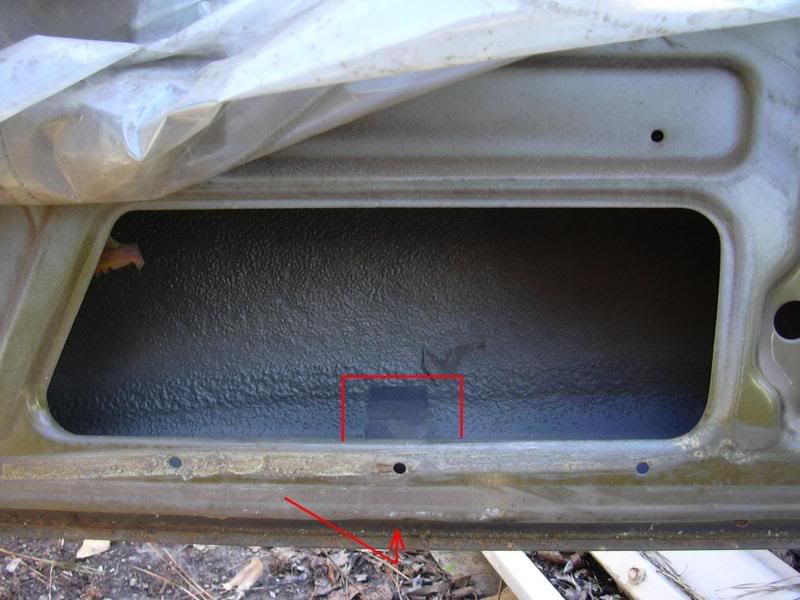 It is easy to roll the door glass down past all the outer seal screws.  |
|

 .
.