Post by airbornesilva on Jun 8, 2012 21:08:41 GMT -5
I'll try to explain as best I can the steps I took and post pics, if you have any questions feel free to ask.
First, and obvious, I took the bumper off too include the valance. I then removed the bumper brackets from the bumper but not until I clamped the brackets together and marked where the brackets go on the bumper. With a step drill bit and a bench top drill press I lined up and drilled a hole at the bend in the bracket, I then measured the distance from factory hole and the one I just drilled so I can match that on the back hole. After both were drilled I used an angle grinder to join the factory and holes I drilled.
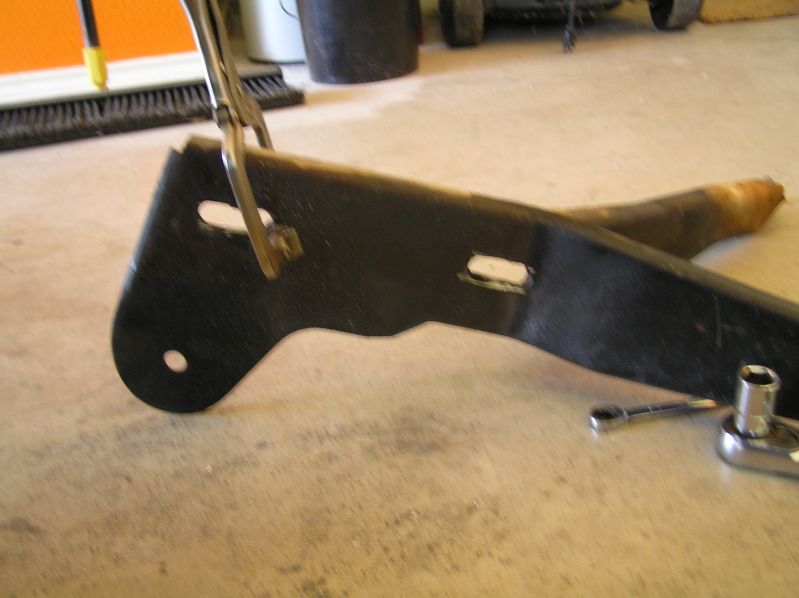
RalleyMike (on another forum) gave me a heads up saying the frame rail on the outer edge had to be notched so the bracket co go back far enough. I took a little different angle (pun intended), on how I accomplished this from how Mike did but the result is the same. I first drilled out the spot welds on the front of the frame rail, where the flap (as I call it), comes from the outer edge of the rail to around the front of it, pictured below.
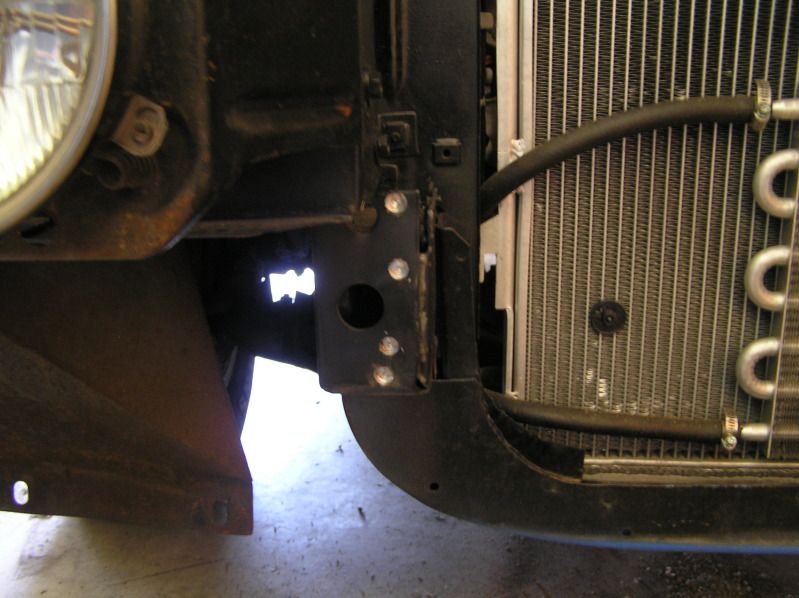
I used an angle grinder with a cutoff wheel on the outer edge as far up as I could then finished it off with a saws all.
After I had the front flap removed I used my angle grinder and a flap wheel (60 grit), and ground down the outer edge even with the nutcert, which took about 1/4" to 3/8" off. using the angle grinder I cut a slit in the upper and lower tabs abut half way across from the outside to inside so I can bend it back a little to make my angle on the upper and lower parts of the rail to match as best I could the outside edge. After cleaning up everything with a wire brush and flap wheel I sprayed everything with weld through primer and reattached the front flap to ensure the strength and integrity of the frame rail.
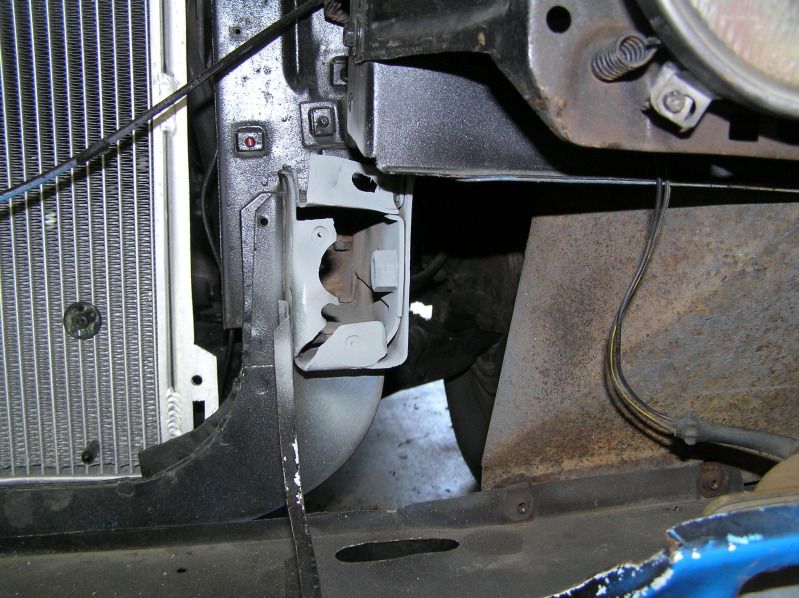
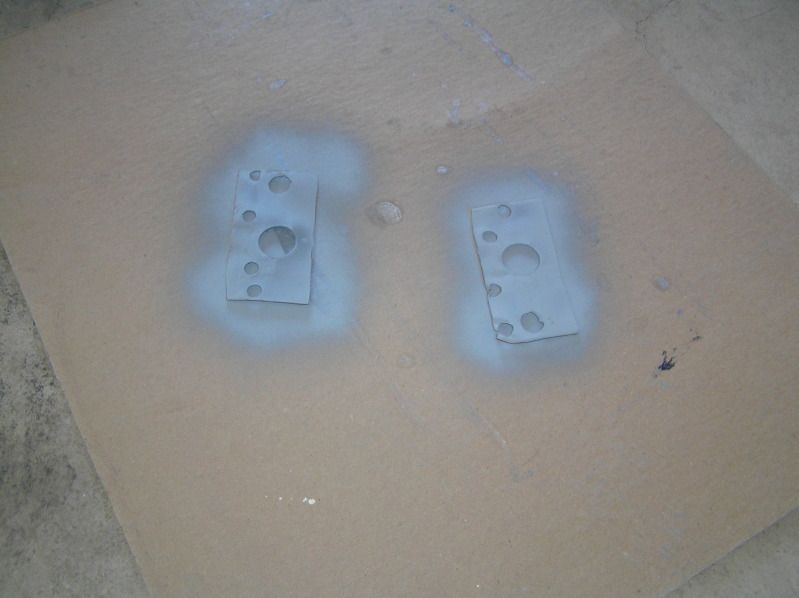
After welding the flaps back on I bolted the bumper up, aligned it to where I wanted it, which was back as far as it would go but I think with my holes drilled and the frame rail cut it worked out perfect. Here's a pic of my bad welding, don't laugh it's been a year or so since I've done any welding :smilielol:
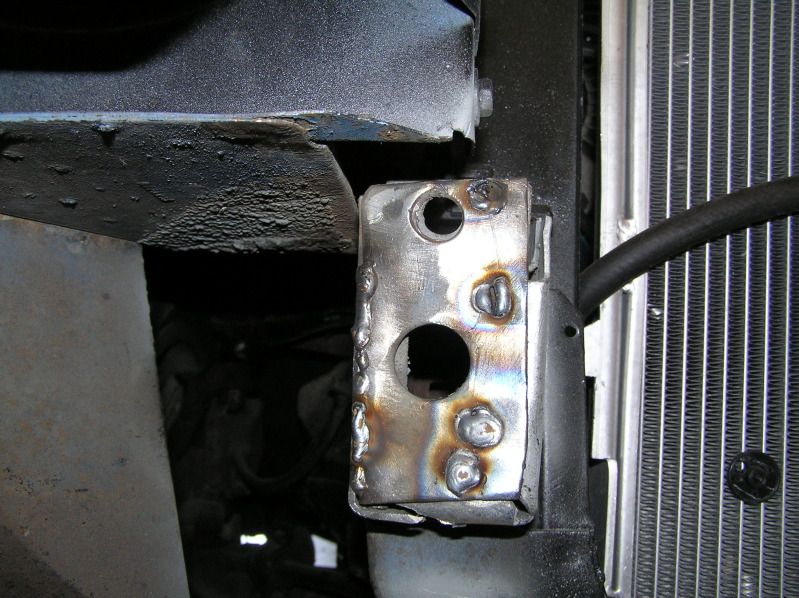
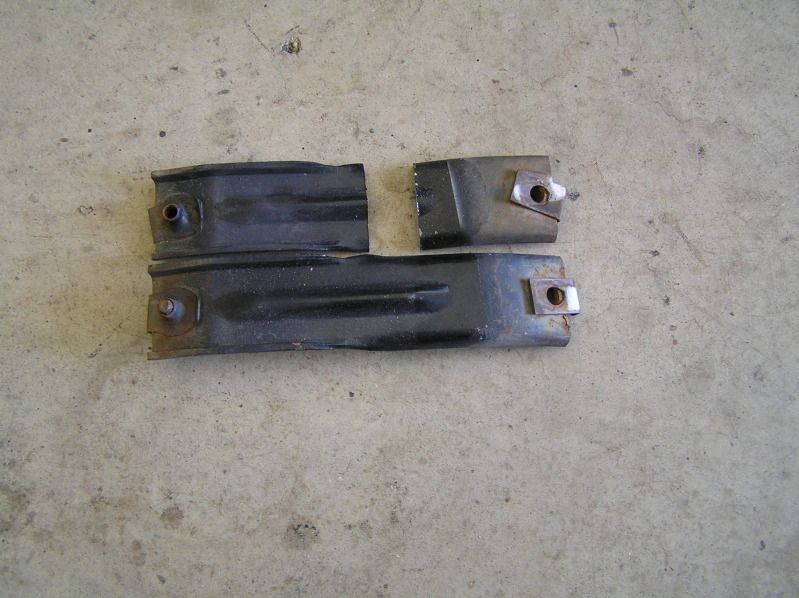
The two brackets that go on the top of the bumper and attach to the inner fender and above the headlight buckets, I had debated if I wanted to mess with those or not but after seeing that the bumper although was tight the top could be moved a little by hand so I decided to cut and refit them. I used a horizontal band saw but a cut off wheel or saws all with the parts in a vice would work just as well. How I did it was I made my first cut, bolted the section to the bumper then placed the upper section where it mounts on the inner fender then was able to make my mark on the upper piece so i knew where to cut it. After reattaching the upper braces it was as stable as stock :2thumbs:
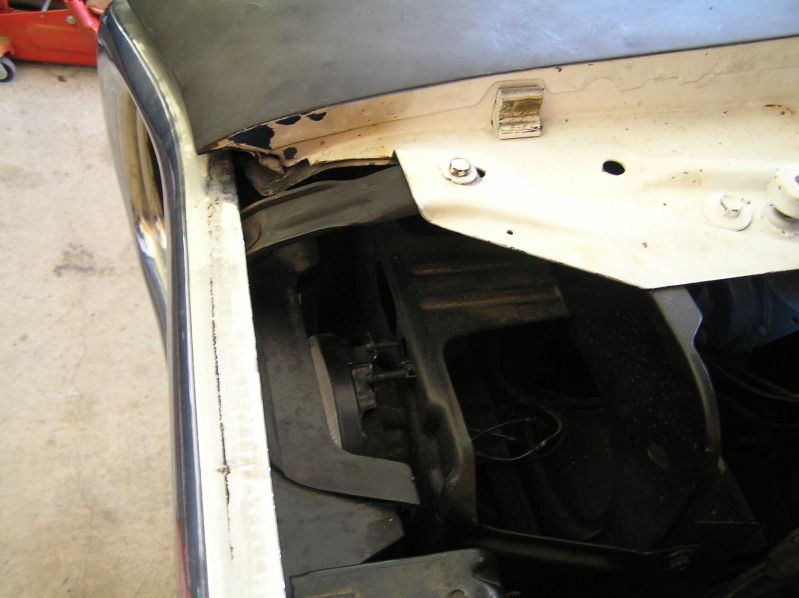
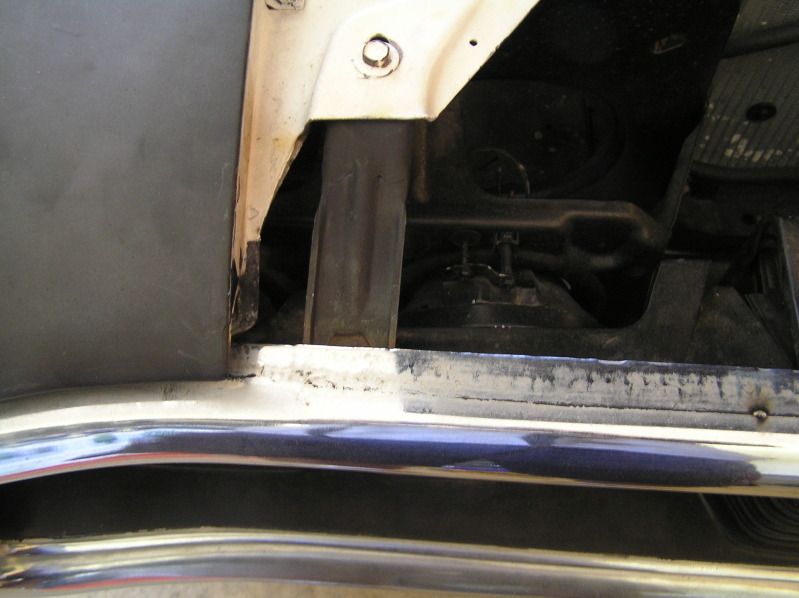
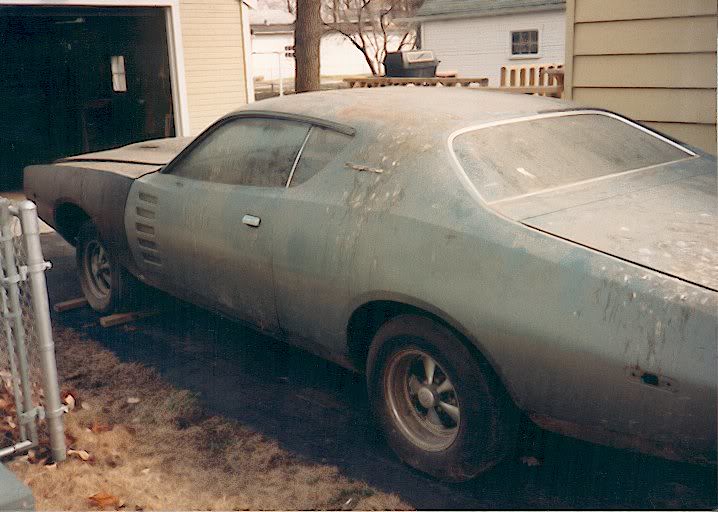
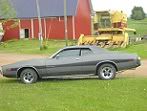
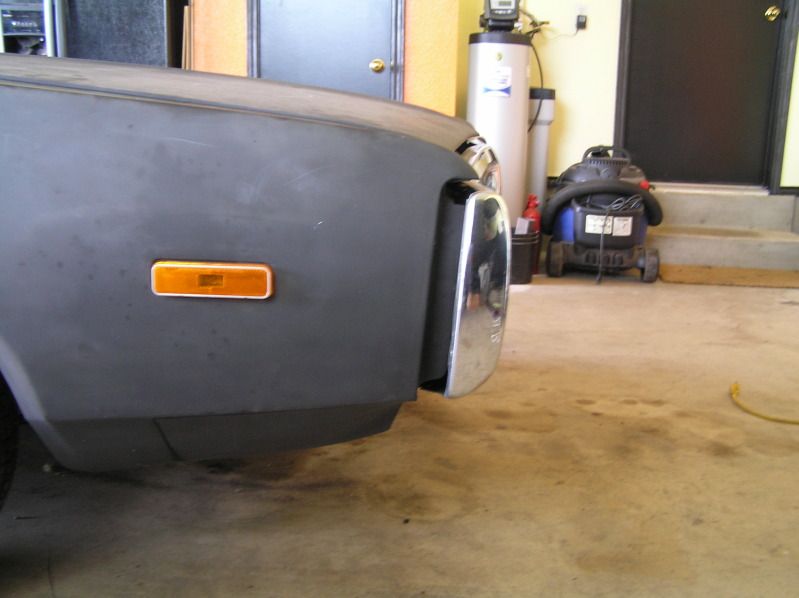
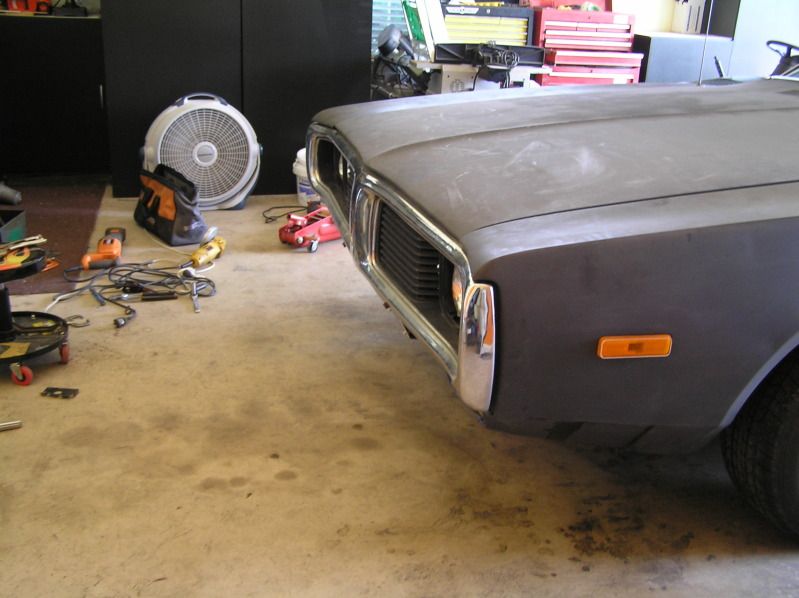
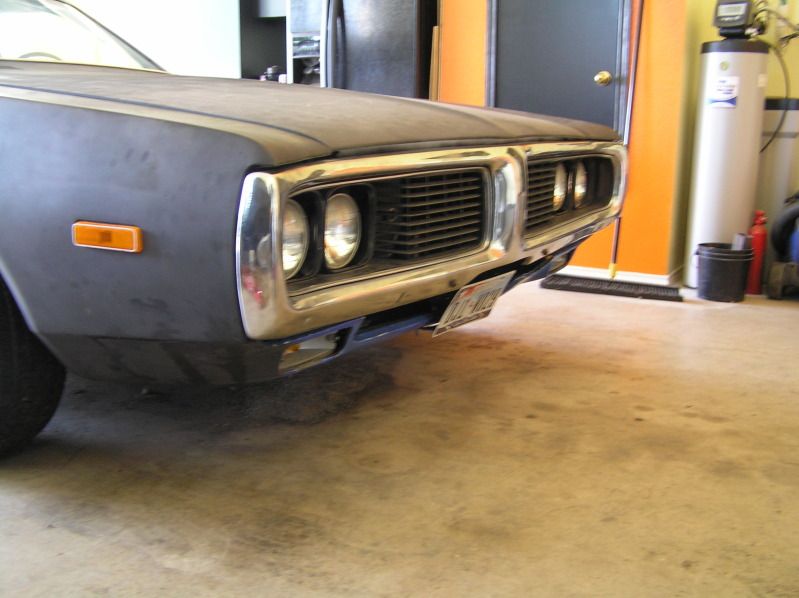
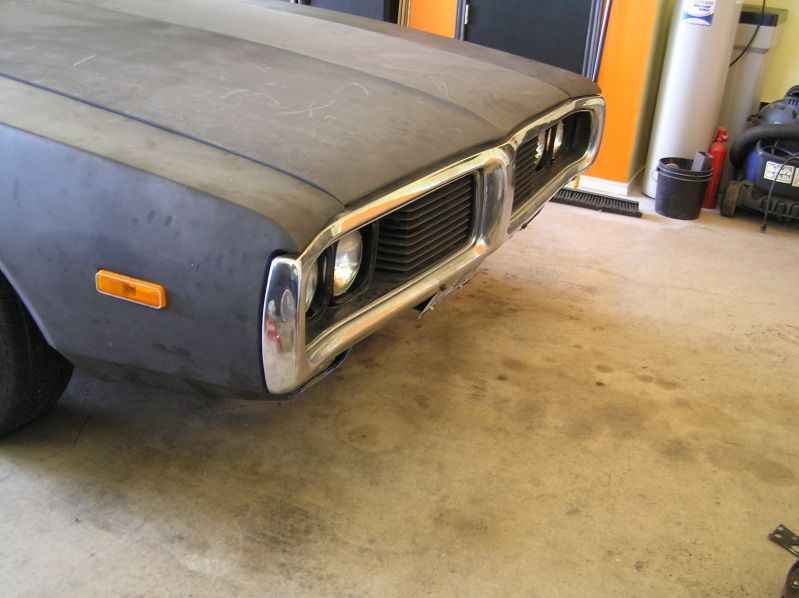
Here's some before and after pics:
BEFORE
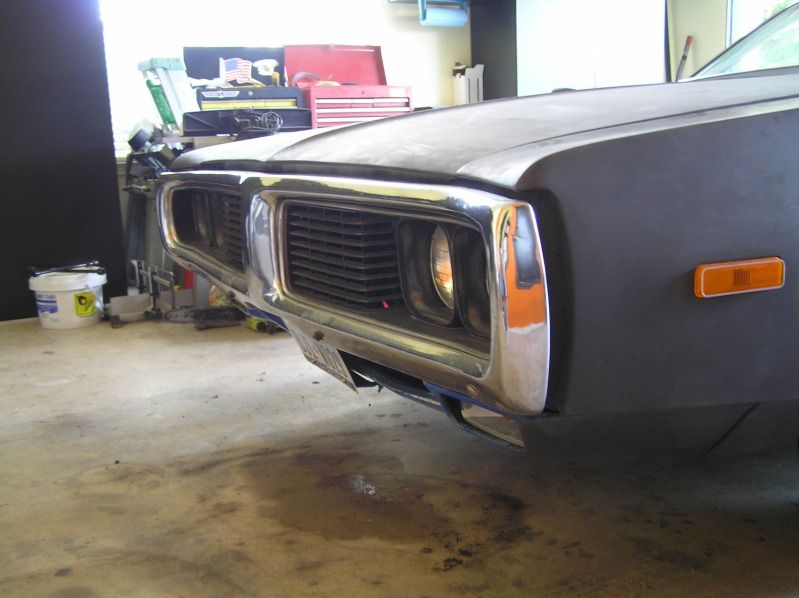

AFTER
Time well spent :2thumbs:
First, and obvious, I took the bumper off too include the valance. I then removed the bumper brackets from the bumper but not until I clamped the brackets together and marked where the brackets go on the bumper. With a step drill bit and a bench top drill press I lined up and drilled a hole at the bend in the bracket, I then measured the distance from factory hole and the one I just drilled so I can match that on the back hole. After both were drilled I used an angle grinder to join the factory and holes I drilled.

RalleyMike (on another forum) gave me a heads up saying the frame rail on the outer edge had to be notched so the bracket co go back far enough. I took a little different angle (pun intended), on how I accomplished this from how Mike did but the result is the same. I first drilled out the spot welds on the front of the frame rail, where the flap (as I call it), comes from the outer edge of the rail to around the front of it, pictured below.

I used an angle grinder with a cutoff wheel on the outer edge as far up as I could then finished it off with a saws all.
After I had the front flap removed I used my angle grinder and a flap wheel (60 grit), and ground down the outer edge even with the nutcert, which took about 1/4" to 3/8" off. using the angle grinder I cut a slit in the upper and lower tabs abut half way across from the outside to inside so I can bend it back a little to make my angle on the upper and lower parts of the rail to match as best I could the outside edge. After cleaning up everything with a wire brush and flap wheel I sprayed everything with weld through primer and reattached the front flap to ensure the strength and integrity of the frame rail.


After welding the flaps back on I bolted the bumper up, aligned it to where I wanted it, which was back as far as it would go but I think with my holes drilled and the frame rail cut it worked out perfect. Here's a pic of my bad welding, don't laugh it's been a year or so since I've done any welding :smilielol:

The two brackets that go on the top of the bumper and attach to the inner fender and above the headlight buckets, I had debated if I wanted to mess with those or not but after seeing that the bumper although was tight the top could be moved a little by hand so I decided to cut and refit them. I used a horizontal band saw but a cut off wheel or saws all with the parts in a vice would work just as well. How I did it was I made my first cut, bolted the section to the bumper then placed the upper section where it mounts on the inner fender then was able to make my mark on the upper piece so i knew where to cut it. After reattaching the upper braces it was as stable as stock :2thumbs:


Here's some before and after pics:
BEFORE


AFTER


Time well spent :2thumbs:


