Post by robertsrt on Mar 23, 2014 10:31:27 GMT -5
Mods please feel free to move this to the proper section!
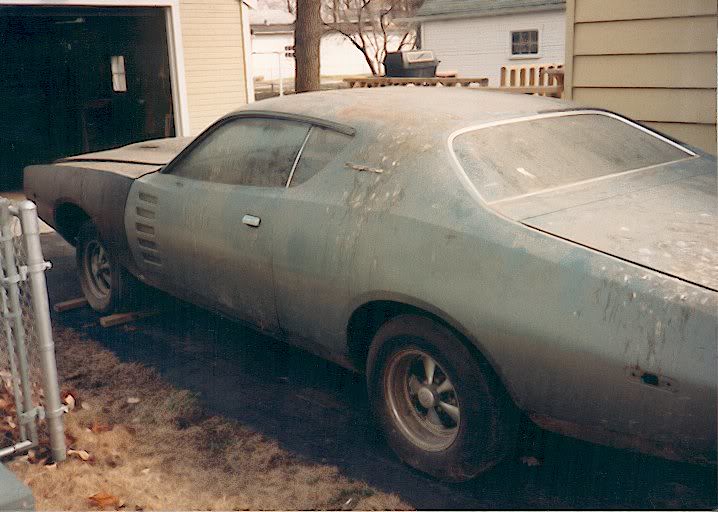
I bought some date-correct horns for my '71 as mine were from some 80's or other car and definitley looked wrong. After getting them the first thing I did before blasting them was test them. One worked great and the other did too, for one beep, then quit! Darn! So I thought what's the worst than I can do? Its already dead. So I did some research on the web, found how to take it apart, and in the process learned a ton about how something so simple, really works. If yours are dead or sound weak, I'm sure this thread will be of help. It was a little time consuming, but I'm Bobish!! (sorry Bob!) The result was great though. Here goes:
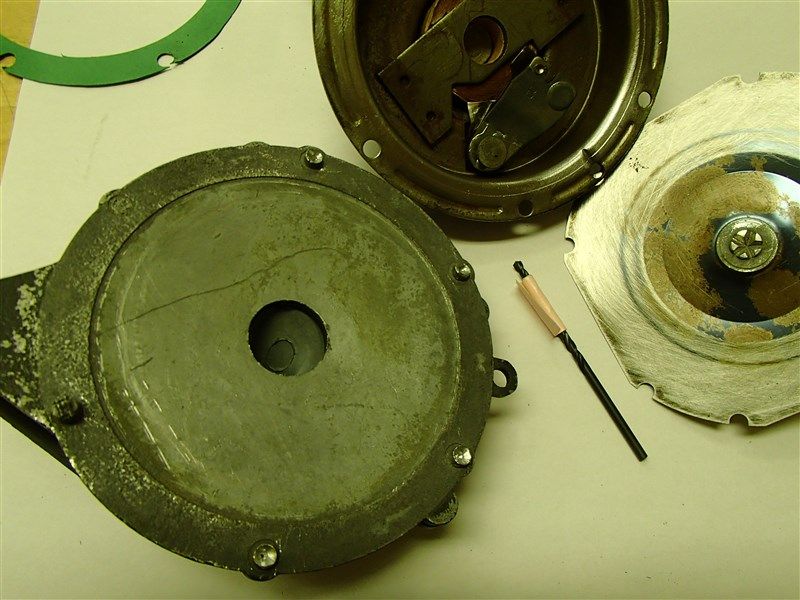
First I used a large drill bit to drill down/remove the top part of the rivets. Use a center-punch to ensure your drilling stays centered. They are special tall rivets made from aluminum and they drill easily. Don't drill the ones nearest the horn opening. They're fake ones and actually don't hold anything. So thats 4 rivets on mine I needed to drill. Make sure that when you get down to the surface of the horn, you don't enlarge the holes. The two halves should then separate using a screwdriver and some careful prying.
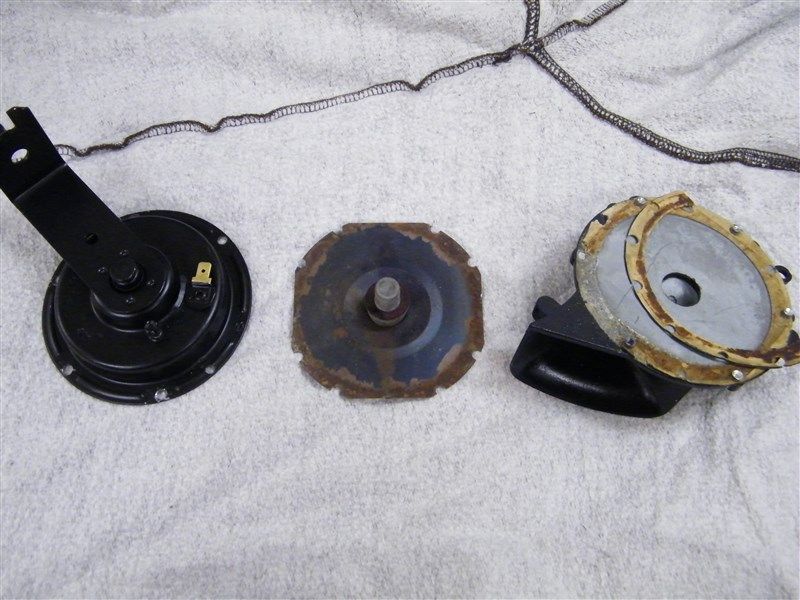
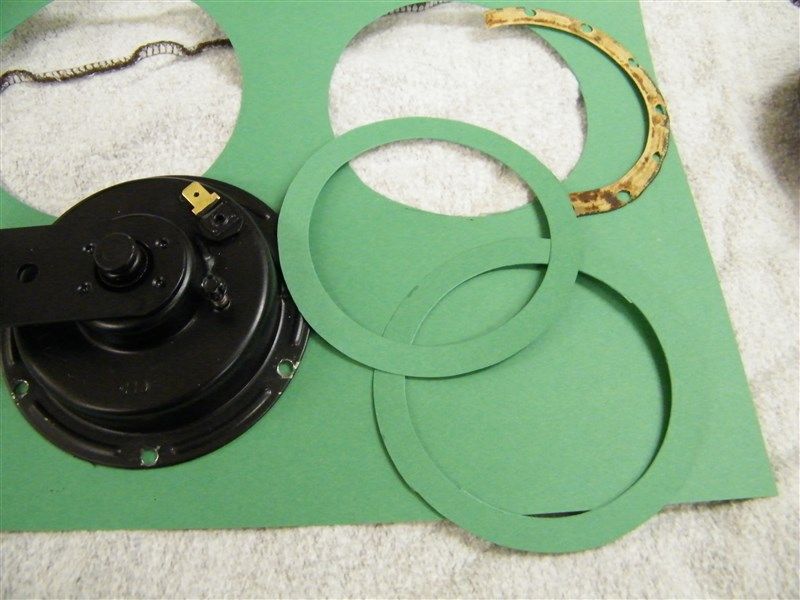
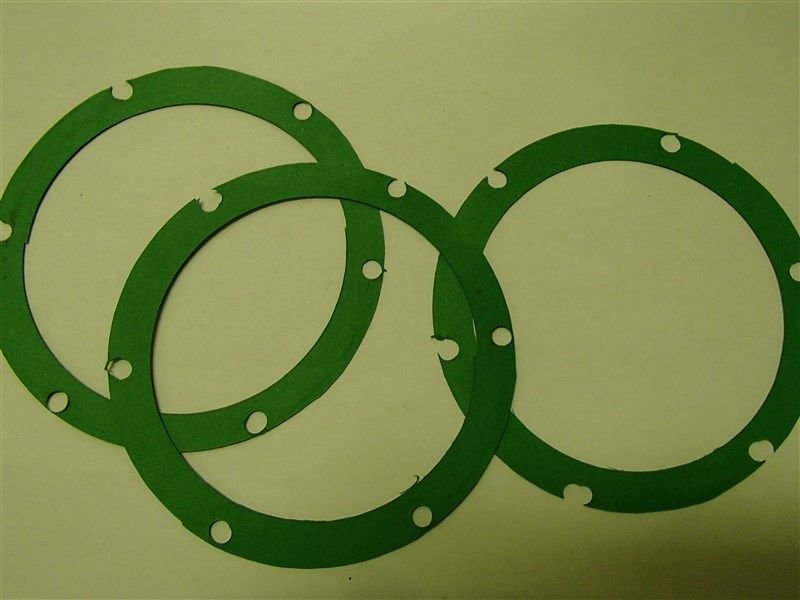
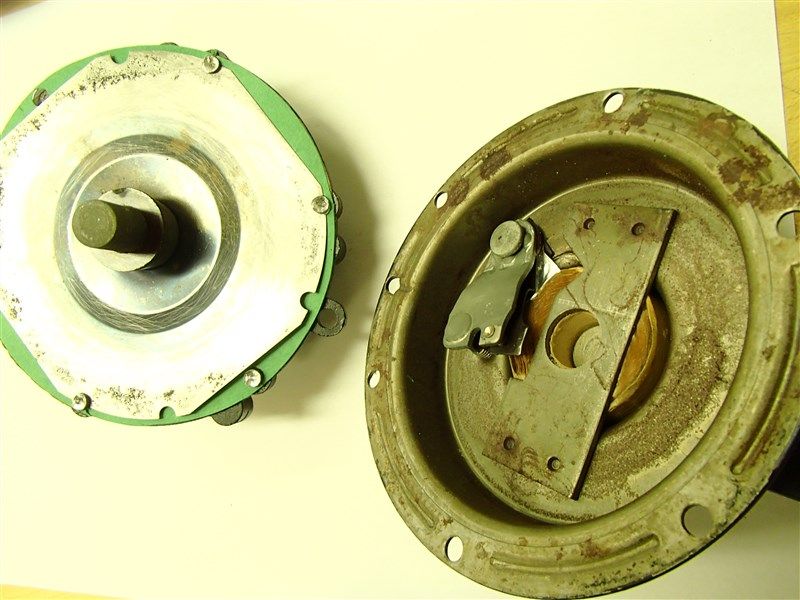
The horn half is cast aluminum. The electrical side is steel. The diaphragm is spring-steel, and the whole thing is put together with paper gaskets and no sealer. No wonder they get corroded over time! I made some new gaskets with some construction paper my kids had lying around. Use whatever color you have!
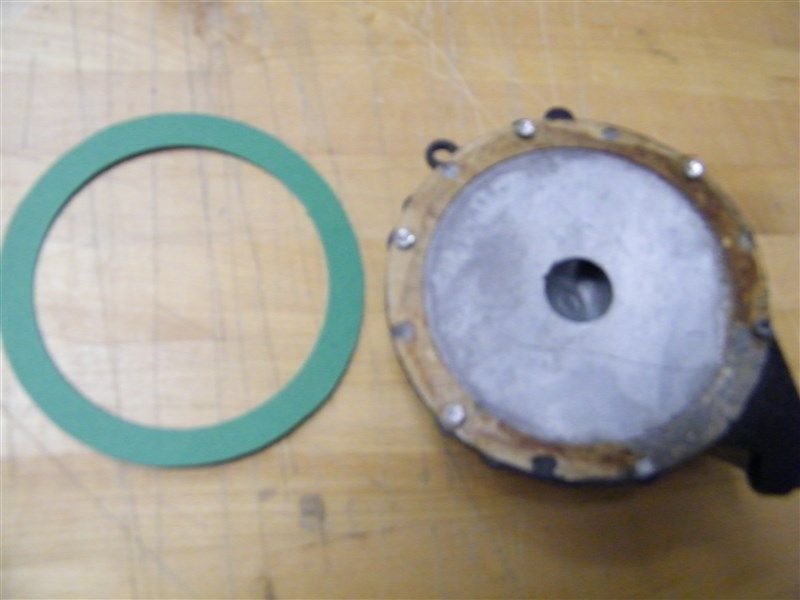
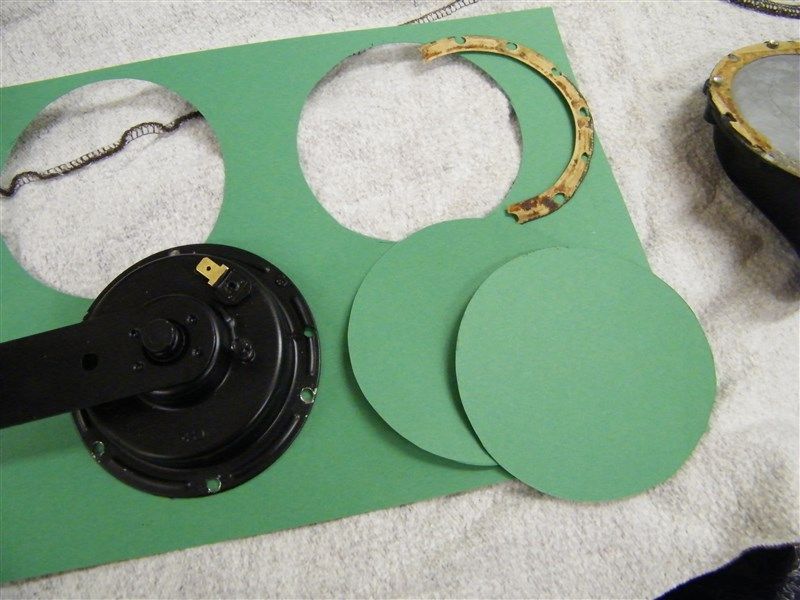
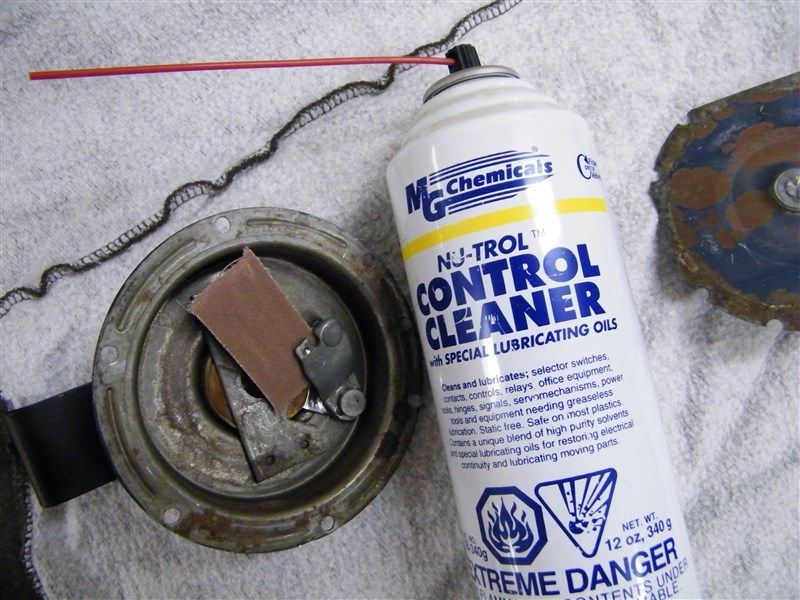
The next thing is to fix the problem. Usually its that the contacts are corroded and don't make a good connection. That was the case with mine. Use a voltmeter set to resistance and a continuity tone. Ground one end to the case and probe the horn wire contact on the back. I didn't get a tone. The guts inside looked ok though so I was pretty sure it was just the contacts needed cleaning. Remove the screw out of the back of the case so the points are easier to separate. I used some 200 grit emery cloth and some contact cleaner.
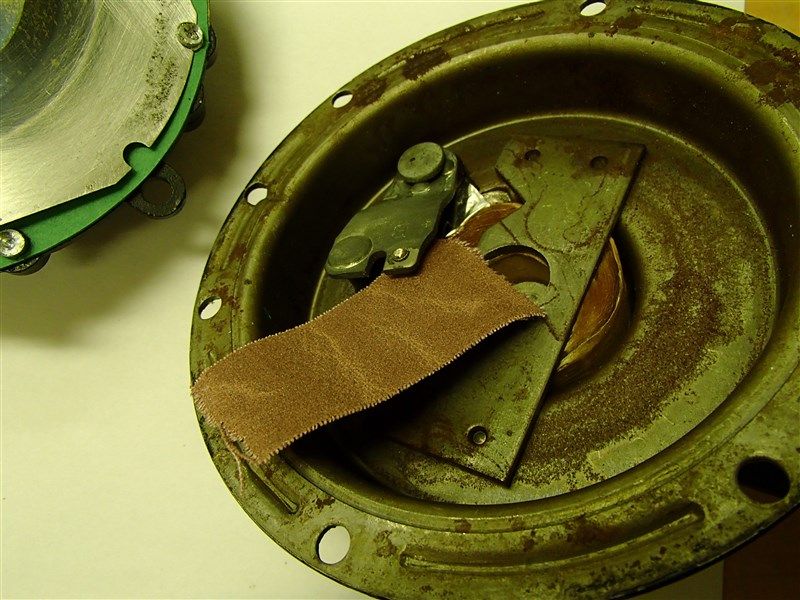
Next is what I found out about how the horns work. You can see the flat-wire-wound coil that connects the horn wire contact to the points, like ones inside a distributor. And you can see the iron spool thing thats part of the spring-steel diaphragm. When the whole thing is clampled together the points are still touching. When you put 12V to it, the coil is energized and it pulls the iron spool back towards the coil. But it rests against the points. The points then come apart and the electical contact is broken. The diaphragm springs ahead again, and the points contact again, pulling the diaphragm back in, etc. etc. I'm not sure of the frequency, but its this vibration that makes the sound. The frequency of the horn itself, high or low tone or note, is determined by how many turns is cast into the aluminum side. Essentially how 'long' the horn is. You can see that high and low are different. The screw on the back adds a 'pre-load' onto the contact points to give the horn a nicer or truer tone while running. You can play with it to make it sound as nice a possible.
Side note - I had tried squirting contact cleaner into the horn end and swishing it around to see if it would free it up somehow. Now I can see its actually sealed off from the other side so it did nothing. If I had taken the pre-load screw out and squirted some into THAT side, maybe some would have hit the points and cleaned them up enough. Oh well. Now I know whats going on in there. But maybe this will work for you. Try it before you take it all apart.
I have good contact, and there's a tone when I connect the voltmeter from the horn terminal to the case. And its also about 12 ohms resistance in case you want to compare yours.
Now for some reassembly. There was some thought around how to screw it all back together. The original rivets were these tall aluminum things and try as I might, I couldn't find them anywhere on the net. There's one guy who sells two paper gaskets and 6 rivets I think for $25 US, kindof a rebuild kit. But I'm too Bobish as I mentioned! I decided to try another way. If I carefully tapped the remaining rivet on the aluminum side, without going all the way through, I reckoned I could use a small cap screw to hold it all together. Also I could grind it down and make it look like the same dimension as the original tall tivets. I saw where some folks just used sheet metal screws or other regular rivets, but I wanted mine to match since they were date-correct and all. Here's some pics of the drill which I measured for depth to make sure I didn't drill all the way through, and the tapping of the aluminum side. I used a 7/64" drill and tapped for 6-32 cap screws. I taped the tap to make sure it was ok for depth as well.
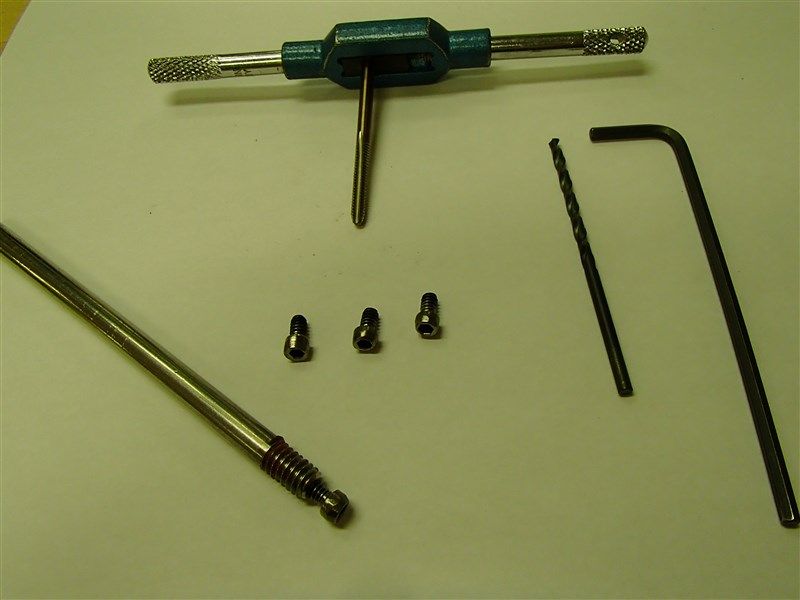
You can see I made a fixture out of a piece of rod to hold the screws while I ground them down a bit to make them look more like the proper rivets. They were 6-32 x 1/4" and were a bit too long, so I took a few threads off the length as well.
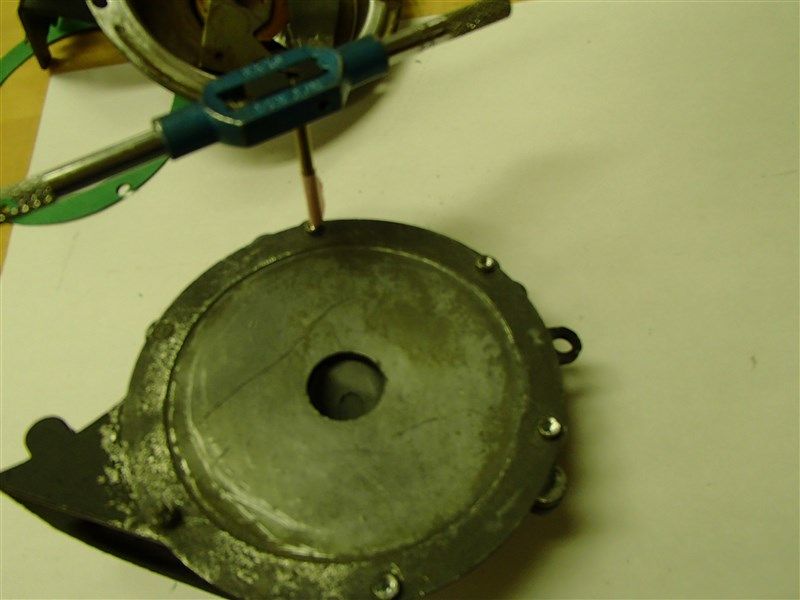
Putting it all back together: I used some silicone grease on the paper gaskets too. Maybe it will help keep out moisture.
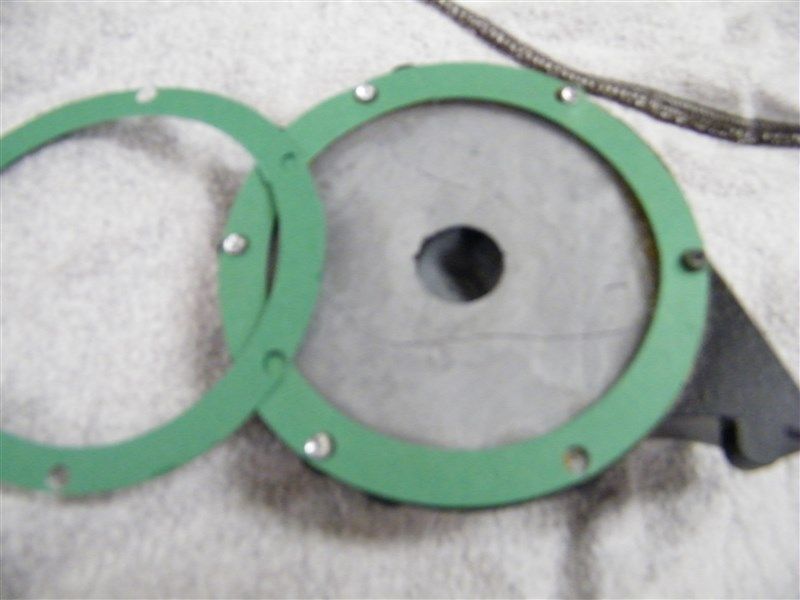

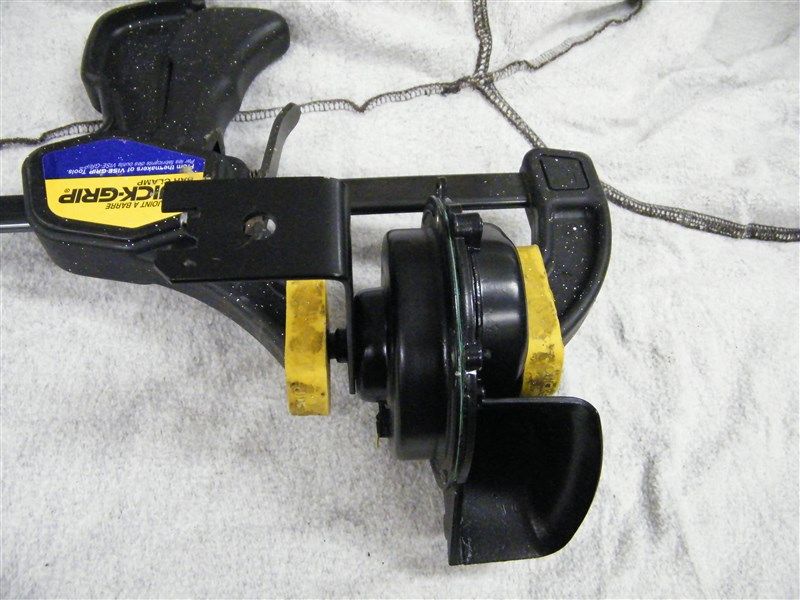
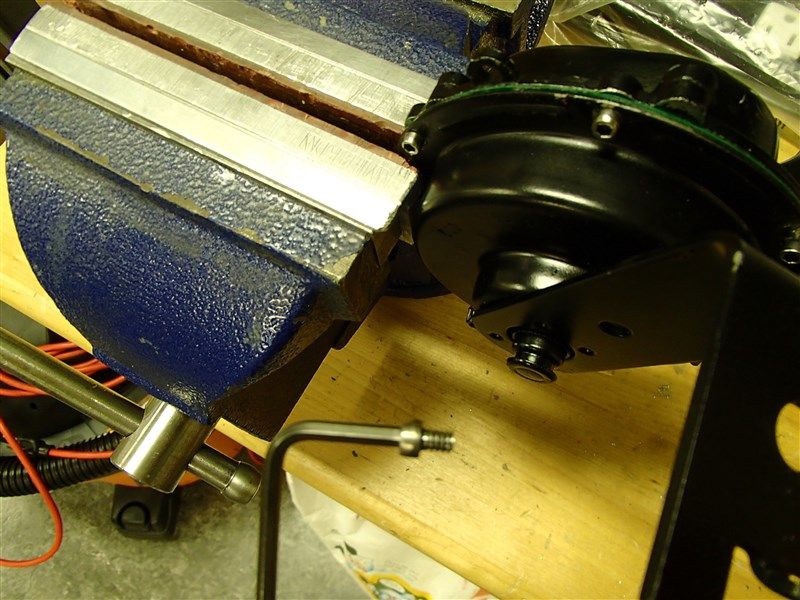
I used a vice (gently) and vice-grips with rubber hose over the ends on the other side to gently squeeze the two sides together, then ran in the 4 screws. The two nearest the horn opening are fake, as I mentioned.
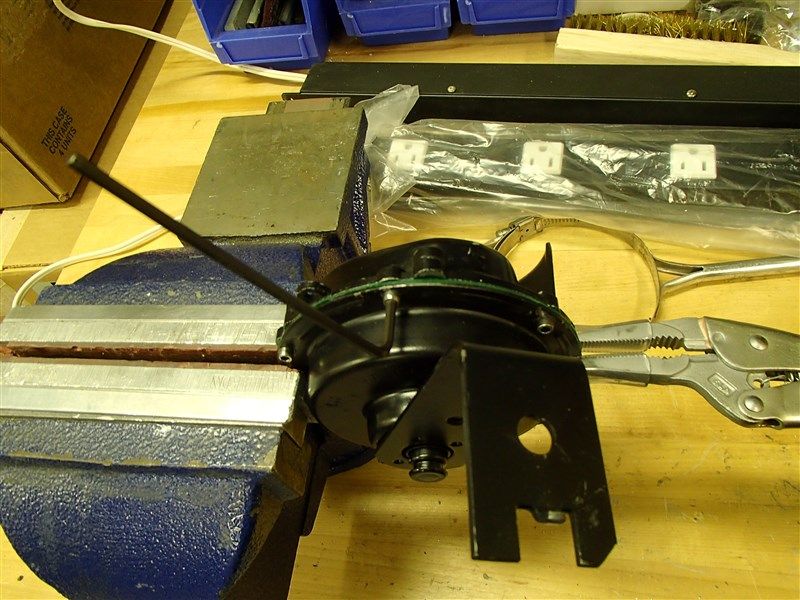
After getting it all together, make sure you test it for continuity, like make sure it works! Test it on a car battery too. It takes a lot of juice!
Then I filled the hex holes of the screw tops with some body filler. I can dig it out again if I need to take it apart in the future. And painted it up.
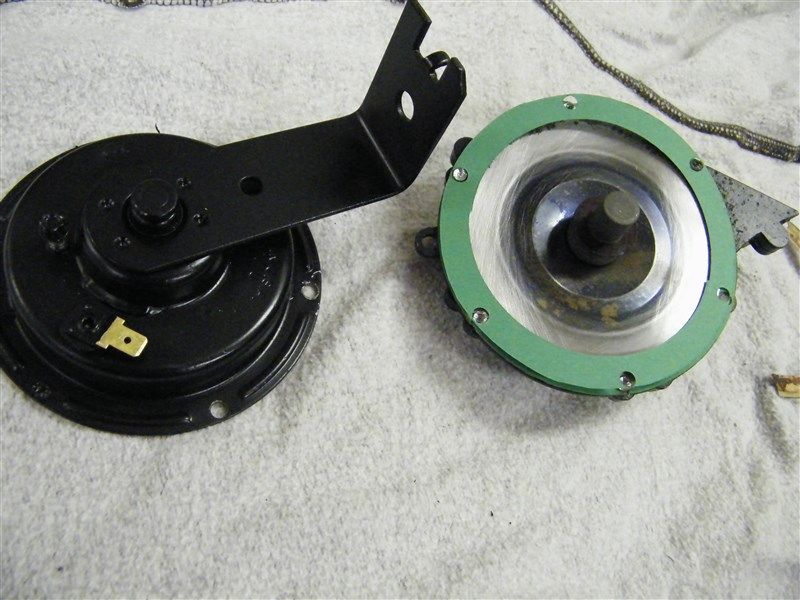
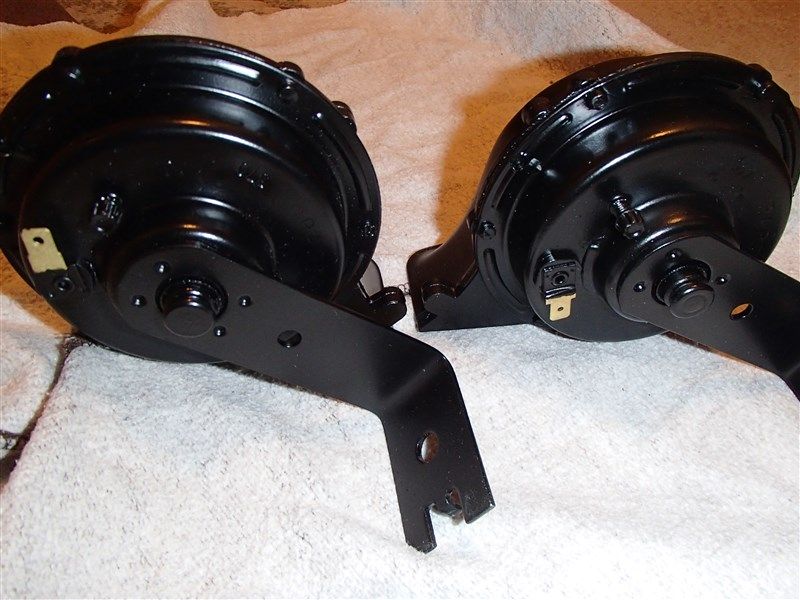
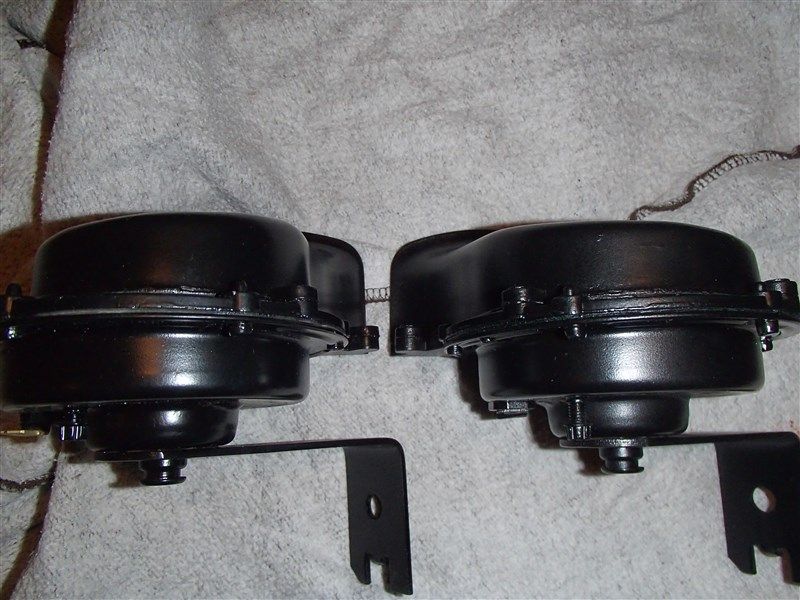
Here's the original and the one I restored side by side. Not the greatest picures, but it does look pretty good. I'm sure no one at the car shows will notice. And it will last a good long time as well before I have to rebuild it again. If I need to, I like the idea that I can take it apart easily next time. I hope this will be of use to someone. There's rebuilders you can send them to, but there's no reason, unless the coil is burned out, that you can't disassemble, clean, and fix them up yourself.
I bought some date-correct horns for my '71 as mine were from some 80's or other car and definitley looked wrong. After getting them the first thing I did before blasting them was test them. One worked great and the other did too, for one beep, then quit! Darn! So I thought what's the worst than I can do? Its already dead. So I did some research on the web, found how to take it apart, and in the process learned a ton about how something so simple, really works. If yours are dead or sound weak, I'm sure this thread will be of help. It was a little time consuming, but I'm Bobish!! (sorry Bob!) The result was great though. Here goes:
First I used a large drill bit to drill down/remove the top part of the rivets. Use a center-punch to ensure your drilling stays centered. They are special tall rivets made from aluminum and they drill easily. Don't drill the ones nearest the horn opening. They're fake ones and actually don't hold anything. So thats 4 rivets on mine I needed to drill. Make sure that when you get down to the surface of the horn, you don't enlarge the holes. The two halves should then separate using a screwdriver and some careful prying.

The horn half is cast aluminum. The electrical side is steel. The diaphragm is spring-steel, and the whole thing is put together with paper gaskets and no sealer. No wonder they get corroded over time! I made some new gaskets with some construction paper my kids had lying around. Use whatever color you have!


The next thing is to fix the problem. Usually its that the contacts are corroded and don't make a good connection. That was the case with mine. Use a voltmeter set to resistance and a continuity tone. Ground one end to the case and probe the horn wire contact on the back. I didn't get a tone. The guts inside looked ok though so I was pretty sure it was just the contacts needed cleaning. Remove the screw out of the back of the case so the points are easier to separate. I used some 200 grit emery cloth and some contact cleaner.


Next is what I found out about how the horns work. You can see the flat-wire-wound coil that connects the horn wire contact to the points, like ones inside a distributor. And you can see the iron spool thing thats part of the spring-steel diaphragm. When the whole thing is clampled together the points are still touching. When you put 12V to it, the coil is energized and it pulls the iron spool back towards the coil. But it rests against the points. The points then come apart and the electical contact is broken. The diaphragm springs ahead again, and the points contact again, pulling the diaphragm back in, etc. etc. I'm not sure of the frequency, but its this vibration that makes the sound. The frequency of the horn itself, high or low tone or note, is determined by how many turns is cast into the aluminum side. Essentially how 'long' the horn is. You can see that high and low are different. The screw on the back adds a 'pre-load' onto the contact points to give the horn a nicer or truer tone while running. You can play with it to make it sound as nice a possible.
Side note - I had tried squirting contact cleaner into the horn end and swishing it around to see if it would free it up somehow. Now I can see its actually sealed off from the other side so it did nothing. If I had taken the pre-load screw out and squirted some into THAT side, maybe some would have hit the points and cleaned them up enough. Oh well. Now I know whats going on in there. But maybe this will work for you. Try it before you take it all apart.
I have good contact, and there's a tone when I connect the voltmeter from the horn terminal to the case. And its also about 12 ohms resistance in case you want to compare yours.
Now for some reassembly. There was some thought around how to screw it all back together. The original rivets were these tall aluminum things and try as I might, I couldn't find them anywhere on the net. There's one guy who sells two paper gaskets and 6 rivets I think for $25 US, kindof a rebuild kit. But I'm too Bobish as I mentioned! I decided to try another way. If I carefully tapped the remaining rivet on the aluminum side, without going all the way through, I reckoned I could use a small cap screw to hold it all together. Also I could grind it down and make it look like the same dimension as the original tall tivets. I saw where some folks just used sheet metal screws or other regular rivets, but I wanted mine to match since they were date-correct and all. Here's some pics of the drill which I measured for depth to make sure I didn't drill all the way through, and the tapping of the aluminum side. I used a 7/64" drill and tapped for 6-32 cap screws. I taped the tap to make sure it was ok for depth as well.


You can see I made a fixture out of a piece of rod to hold the screws while I ground them down a bit to make them look more like the proper rivets. They were 6-32 x 1/4" and were a bit too long, so I took a few threads off the length as well.

Putting it all back together: I used some silicone grease on the paper gaskets too. Maybe it will help keep out moisture.


I used a vice (gently) and vice-grips with rubber hose over the ends on the other side to gently squeeze the two sides together, then ran in the 4 screws. The two nearest the horn opening are fake, as I mentioned.

After getting it all together, make sure you test it for continuity, like make sure it works! Test it on a car battery too. It takes a lot of juice!
Then I filled the hex holes of the screw tops with some body filler. I can dig it out again if I need to take it apart in the future. And painted it up.
Here's the original and the one I restored side by side. Not the greatest picures, but it does look pretty good. I'm sure no one at the car shows will notice. And it will last a good long time as well before I have to rebuild it again. If I need to, I like the idea that I can take it apart easily next time. I hope this will be of use to someone. There's rebuilders you can send them to, but there's no reason, unless the coil is burned out, that you can't disassemble, clean, and fix them up yourself.


