|
|
Post by jeremy on Apr 11, 2020 14:46:05 GMT -5
I thought it was interesting that they used the same one as the 72 Charger. The parts bin lasts forever.
|
|
DynoDave
CO-ADMINISTRATOR
Motown Mopar-Wizard
Posts: 11,167
|
Post by DynoDave on Apr 12, 2020 7:03:09 GMT -5
I thought it was interesting that they used the same one as the 72 Charger. The parts bin lasts forever. The radio? That's just the tip of the iceberg. This is the 4th gen. of B-bodies. A ton of things interchange, or are at least visibly direct descendants of the late 3rd gens. |
|
DynoDave
CO-ADMINISTRATOR
Motown Mopar-Wizard
Posts: 11,167
|
Post by DynoDave on Apr 12, 2020 7:27:10 GMT -5
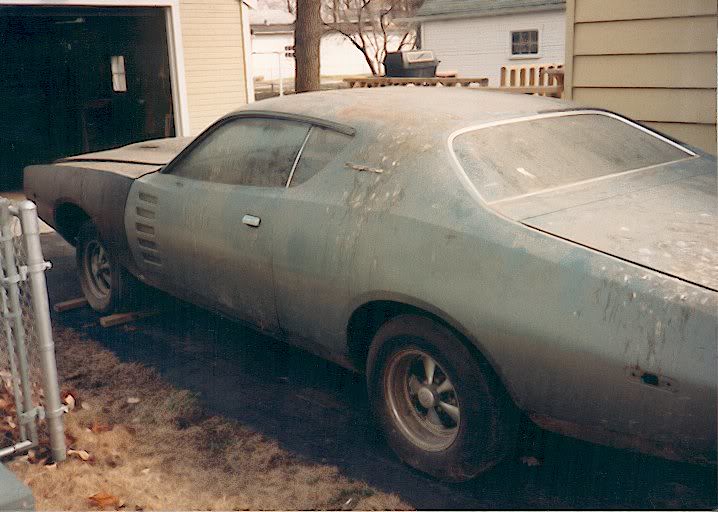
Ran out Friday night and picked up a few battery conversion supplies. Deep tub that I can reuse for parts storage after, and if there's any "splash", it should help contain that. Kitchen gloves that reach half way up my forearms Vs my nitrile gloves. And a couple of big boxes of baking soda. I managed to get out to the shop for an hour or so yesterday. The old gal looks sorta past it. But it's been in there since the early '90s, a Turbo Start unit that lasted 8-9 years with little use and a battery tender. 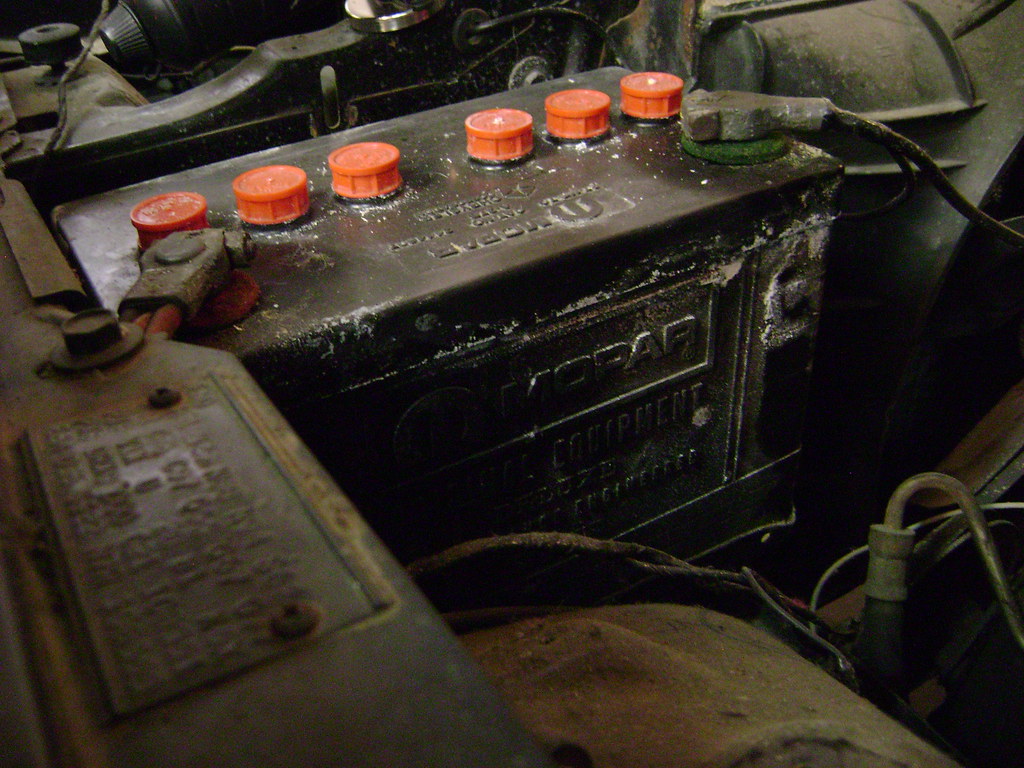 I have a whole box of these cut-offs from when we built the shop in back. 3 of them should be perfect for protecting the posts when the battery is inverted.  I removed the vent caps, set her inside, and rolled her into place. Amazingly drama-free.  And out flows what's left of the acid.  Set the lid over it, but left a little room to let fumes out if needed. The caps went into a bath of baking soda and water.  After a half hour soak, they were cleaned with an old tooth brush, rinsed, and look good as new.  While the caps dried and the battery finishes dripping, I took a moment to check out the battery tray. When the battery was installed, the tray was solid, but had surface rust. It was neutralized, coated in POR-15, and sprayed over with Eastwood battery tray coating. Two layers of Battery Mat were cut to shape. The upper layer is dirty from sitting, as is the rest of the engine compartment. But no other wear or damage.  The lower mat and tray look like the day I put them in.  I'll get another hour or so out there today. |
|
|
|
Post by hanks73340 on Apr 12, 2020 7:56:57 GMT -5
Very cool Dave....
|
|
DynoDave
CO-ADMINISTRATOR
Motown Mopar-Wizard
Posts: 11,167
|
Post by DynoDave on Apr 12, 2020 18:30:57 GMT -5
After sitting overnight, and rolling the battery around to drain it as best I could, this is all that came out. She was pretty dry.  Neutralized with a layer of baking soda.  Dried off, and noticed there is a crack radiating from the positive post. It's still very solid, not loose in the case. Should not matter for what I want to do with it. Not happy about it, but it should not be a show stopper.  Refilled with a mixture of baking soda and water. 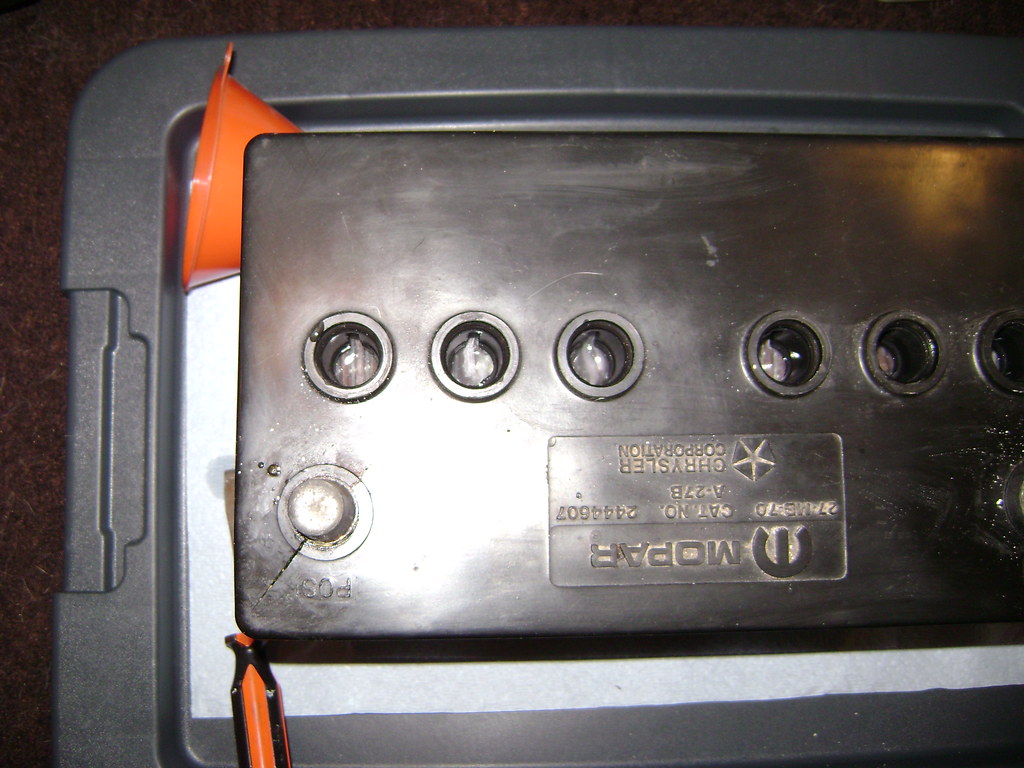 I drained out the "acid" from the tub, and left the layer of baking soda. After letting the battery sit all day with the soda/water mix inside, it's back into the tub to drain.  ] I'll pull this out of the tub, drain the tub one more time, and refill the battery with pure water, and let it sit over night. |
|
|
|
Post by jeremy on Apr 13, 2020 1:37:28 GMT -5
I thought it was interesting that they used the same one as the 72 Charger. The parts bin lasts forever. The radio? That's just the tip of the iceberg. This is the 4th gen. of B-bodies. A ton of things interchange, or are at least visibly direct descendants of the late 3rd gens. The mirror adjuster - it's fun seeing things like exterior mirrors, rallye rims, and side markers be used on nearly every car though. |
|
DynoDave
CO-ADMINISTRATOR
Motown Mopar-Wizard
Posts: 11,167
|
Post by DynoDave on Apr 13, 2020 9:13:49 GMT -5
Yes, the adjuster is very similar. The dash frame (the steel parts), glove box, ash tray, all the same. The plastic insert the holds the gauges, radio, etc. is different, but the HVAC controls are in the same spot, the radio is in the same spot, the gauges are all in the same spot, etc. The gauges even physically interchange, thought the font is different. The Chargers have hard wires to each post, and the Cordoba uses a flexible printed circuit...so again, just an evolution. Front and rear iso-suspension like the 73-74 cars, the list goes on.
|
|
DynoDave
CO-ADMINISTRATOR
Motown Mopar-Wizard
Posts: 11,167
|
Post by DynoDave on Apr 13, 2020 23:10:24 GMT -5
I had a good final day off before returning to work tomorrow. Stayed on schedule with the Cordoba, my daughter helped me in the shop quite a bit, and I even found toilet paper on the shelf at Meijer today! I'll need to find replacements for these decals at some point. 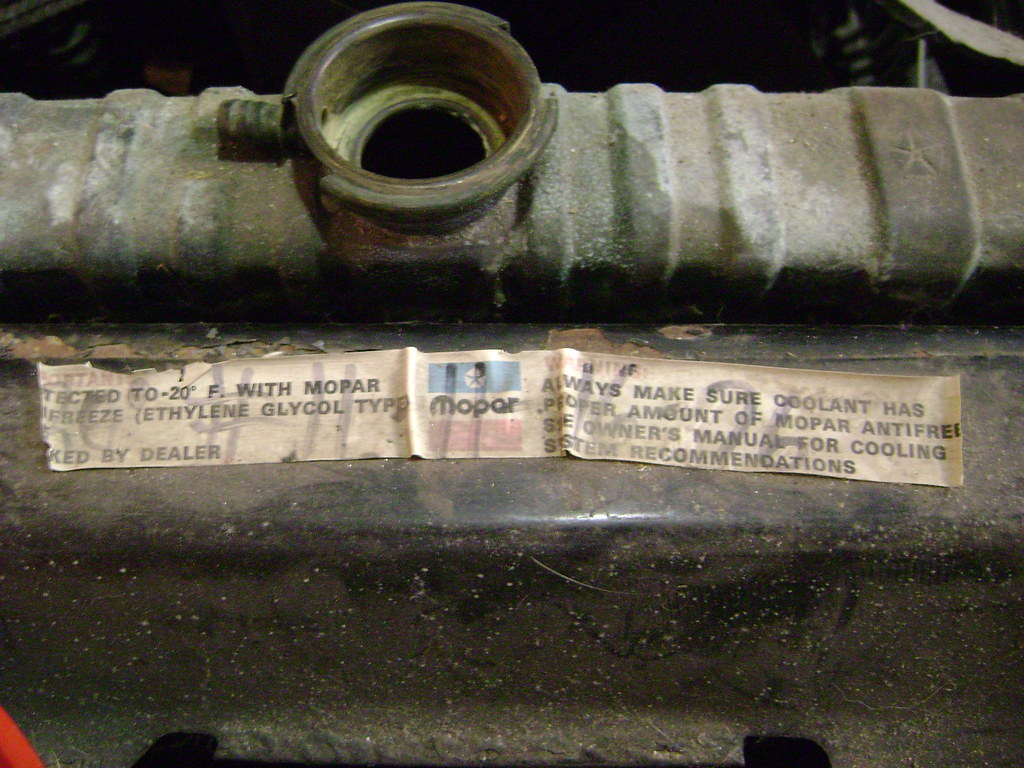  The car was very cooperative today. Upper radiator hose came off the neck without issue (no coolant, as expected). The four bolts for the shroud and 4 at the water pump for the fan clutch and fan blade assembly came right out, and the shroud/fan/clutch all lifted right out of the way. 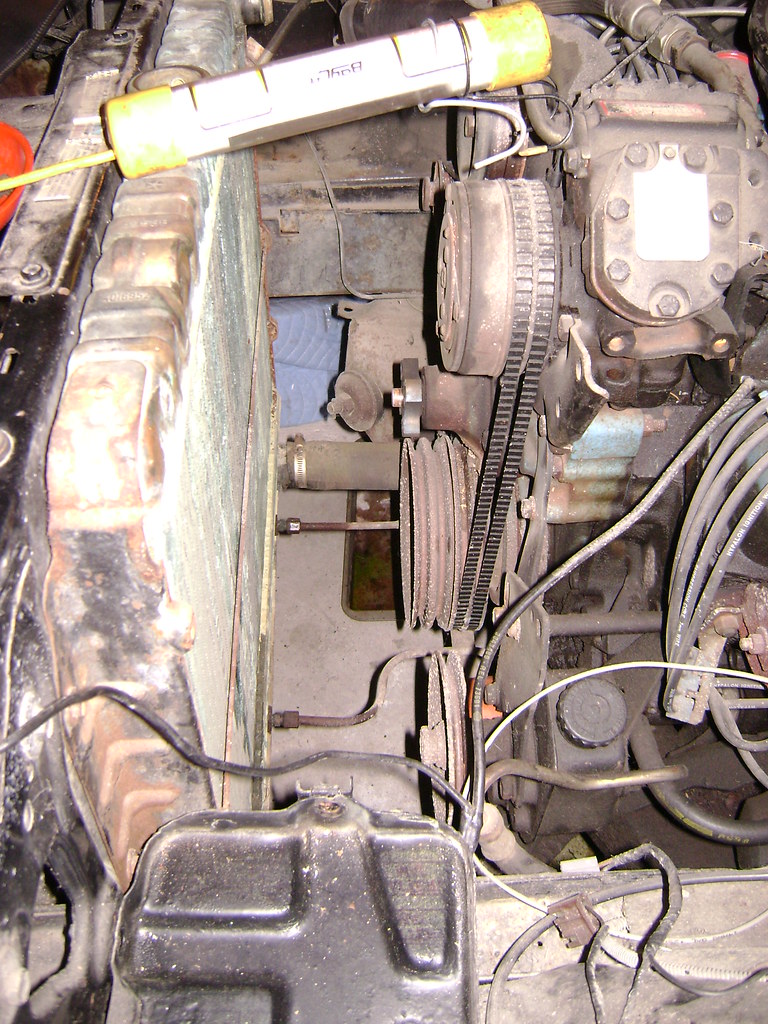 The brass is green with corrosion, and the steel side brackets are rusty, but it seems structurally sound to me.  Bottom hose put up a little bit of a fight, but came off clean, with no damage to the tank or nipple. Got about a gallon of coolant out of the block/water pump housing, all clean and bright green. I couldn't have been happier about that. Having topped it off with pure water when the radiator split eons ago, I was afraid there would be some corrosion inside the engine. But no signs of that here.  Taking a break from the radiator, I dumped the pure water out of the battery, and set the fan up to try and dry the battery out as much as possible before I start drilling on it.  Back to the radiator. Last night, I found that the threaded adapters in the lower tank for the trans cooler lines would turn in the tank. Good news. The the lager nut on the line would turn on the adapter. Also good news. But then I noticed that on both the inlet and outlet lines, the nut was NOT spinning on the tube, but was corroded to it. Any major effort to turn them would twist the cooler lines. So before I turned in, I dropped some PB Blaster on them, and let it soak overnight. Today we broke out the small acetyline torch set I have, and heated both nuts (I did one, my daughter did the other), then tapped on the nuts and pipes with a hammer. Tried them both again with a line wrench, and they came apart smooth as butter. Four more bolts on the radiator frame, and out she came.  Rod that ties the two frame sides together. Threaded only on the last inch of the end with the nut. This end is just like a nail head.  Hard to believe that a thread and nut that rusty and that small will come apart. We'll see what they can do with it. I went ahead and hit it with PB Blaster tonight, so it can soak until I take it over to them tomorrow.  Given it's age, I didn't think it looked too bad inside. Upper and lower hose openings into the upper and lower tanks shown.   That "extra" tank width from having one one row or core makes a great place for debris to get trapped behind the condenser.  |
|
|
|
Post by hanks73340 on Apr 14, 2020 7:11:03 GMT -5
You can get the radiator sticker from Performance Car Graphics. Are you gonna re-core or get a new radiator?
|
|
|
|
Post by brigond on Apr 14, 2020 11:00:17 GMT -5
Great progress. I was thinking that if you cant get a repro sticker you could probably make a color copy of the one in better condition. Than try to clean up from there. Maybe even one of those custom Tshirt places in the mall.(when they open) .I believe they can print on sticker paper.
I'm sure you'll find them as Hank mentioned.
Just incase that's what I would try.
|
|