|
|
Post by CDN72SE on Aug 25, 2021 12:49:39 GMT -5
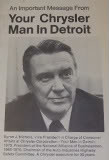
Love how it says that the defogger will clear the window of snow & ice, that never happens.
|
|
|
|
Post by hanks73340 on Aug 25, 2021 13:50:04 GMT -5
I have a feeling The Great and Powerful Nacho, The Wizard of everything Mopar will have the answer. I've never seen one of those covers either. But I'm sure Nacho loves the "Great and Powerful" title. Maybe I'll update his profile with that!  Or the Man Behind The Curtain  |
|
DynoDave
CO-ADMINISTRATOR
Motown Mopar-Wizard
Posts: 11,160
|
Post by DynoDave on Aug 26, 2021 8:49:33 GMT -5
I've never seen one of those covers either. But I'm sure Nacho loves the "Great and Powerful" title. Maybe I'll update his profile with that! Or the Man Behind The Curtain A rare glimpse at the machinery that makes wichargerguy.proboards.com/ work! 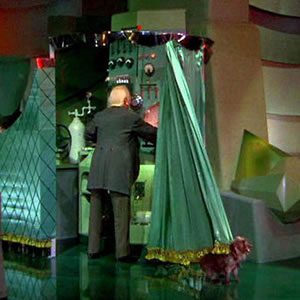 |
|
wp29p4a
Forum Regular
 MY 1974 se
Posts: 376 
|
Post by wp29p4a on Nov 14, 2021 11:34:39 GMT -5
I need a little help with dimensions, Please. I have the incorrect bezel for my rear window defogger.This is what I have.  This is the bezel that I need the dimensions for.  I am going to fabricate a new one and need dimensions. The main measurements I need are the overall width and the status light hole position.  I'm hoping for a picture something like this, does anyone else have this option on their Charger? So just to be clear I am looking for the dimensions for the one that I don't have, that has the status light hole to the right of the switch. |
|
|
|
Post by Nacho-RT74 on Nov 15, 2021 15:00:08 GMT -5
the OFF LOW HI is the bezel for the blower kind
|
|
wp29p4a
Forum Regular
MY 1974 se
Posts: 376
|
Post by wp29p4a on Nov 16, 2021 14:04:01 GMT -5
Yes, that fact is obvious and correct. The switches are different also, mine is a momentary switch, the blower type are 3 position switches with detents for each position.
|
|
wp29p4a
Forum Regular
MY 1974 se
Posts: 376
|
Post by wp29p4a on May 5, 2022 15:32:29 GMT -5
Well I waited for a full year hoping someone might come up with dimensions for the bezel I need. I figured it's a rare option and none of the regulars on the site had one available, so I used the force. One my first attempt I made the bezel 50% wider than the bezel for the blower type rear window defogger. Tested it in the car and determined it to be not wide enough. One my second attempt I made the bezel twice the width of the incorrect one I have and it fits properly. I fabricated the new one out of aluminum for durability. Because I am not always perfect, when I fabricate something I make 3 so I have something to practice with and when I'm done I pick the best one for my car. I improve my results with each attempt. If the spares are above average I sell or offer them to someone I appreciate. Now I just have to practice different techniques to add the labeling to the front of the bezel. I am interested in your opinions on the results, I'm not one of the new trigger people so feel free to be brutally honest, I want you to tell me what you think, not make me feel better. LOL 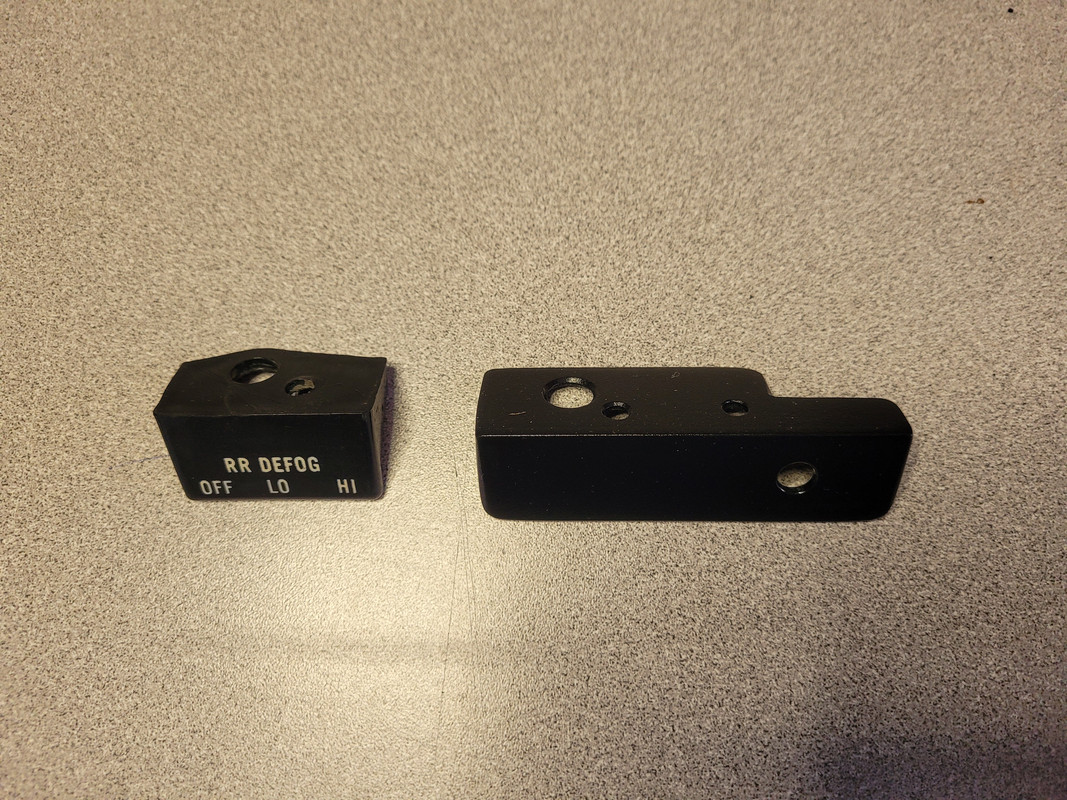  |
|
|
|
Post by Nacho-RT74 on May 10, 2022 11:30:49 GMT -5
on a first instance I think it looks AMAZING
|
|
DynoDave
CO-ADMINISTRATOR
Motown Mopar-Wizard
Posts: 11,160
|
Post by DynoDave on May 11, 2022 9:21:50 GMT -5
That bracket looks awesome! Nice work.
There are dry transfer letters you could try, but finding the right font would be difficult, and keeping the letters straight would be a challenge.
I bought a "repro" Ramcharger hood vacuum switch and bezel some year back. To change the bezel lettering, they just added a decal over defog bezel....black background with white lettering. You might be able to go something like that at home.
|
|
wp29p4a
Forum Regular
MY 1974 se
Posts: 376
|
Post by wp29p4a on May 11, 2022 12:16:26 GMT -5
I actually practiced on the prototype I made that was not wide enough. I used a Dymo label maker and used clear tape with white printing. The font size is not correct but easier to read for adults. It looks passable, just need to work on technique to apply the tape without touching the sticky side, and keeping it straight as I apply the tape. Got four to practice on, just need to get one perfect.
|
|